Start a Backyard Compost Bin
April is Earth Month and a great time to start a compost bin in your own backyard! It is an easy and rewarding way of becoming more sustainable and reducing your carbon footprint. Not only will you help save the planet, but you will also be helping your garden by having fresh, nutrient-rich compost that you can add back into your garden and vegetable beds to help your plants grow. Read on to see how easy it is to start a compost bin.
Step 1: Select a location for your compost bin
Selecting the best area in your garden for your new compost bin is the first and most important step. A compost bin needs good air flow and sunlight in order work its magic. Choose a site that receives at least three to four hours of full sun each day and allows at least two sides of your bin to have unrestricted air flow. If placing the bin near a fence line or in a corner of the yard, keep the bin at least 2 feet away from the fence/corner so that air can circulate properly. This will also be helpful if you ever need to access behind the bin.
Step 2: Collect your materials and assemble your compost bin
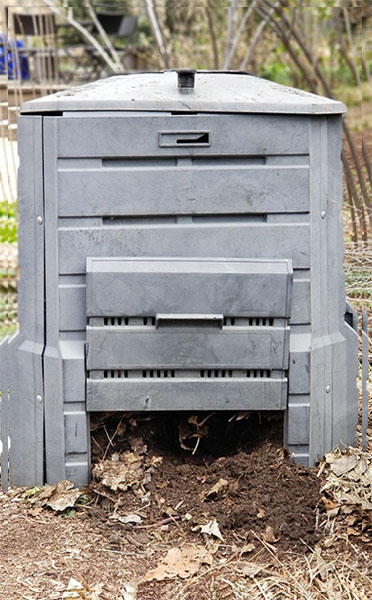
There are many options when it comes to choosing your compost bin. There are a variety of bins that can be purchased for composting from local retailers and online. The design you choose will depend on the area you have selected in your garden and the amount of space you have available. The most important factor is that your bin has adequate air flow, so you want to be sure that the bin has slots or openings that allow oxygen into the bin from all sides. You can also make your own compost bin with repurposed wood or pallets. A bin size of 1 cubic yard (3’x3’x3’) is adequate to allow the compost to reach the proper temperature to initiate the decomposition process by activating microbial activity. When building your own bin, remember to include easy access points on all sides so that you can open it up periodically to maintain, mix and harvest your compost.
Step 3: Add organic matter to your bin
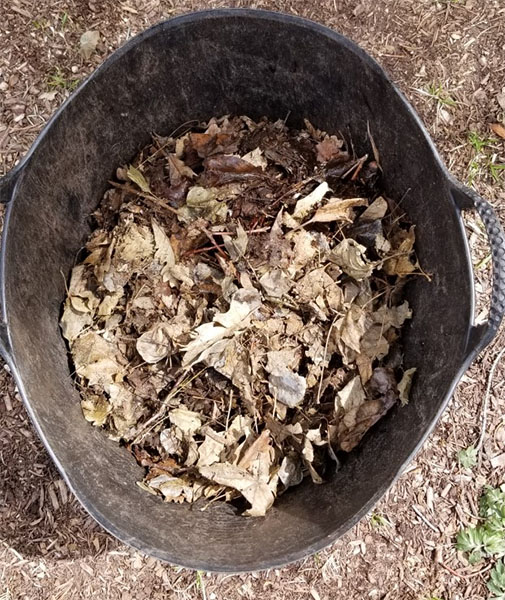
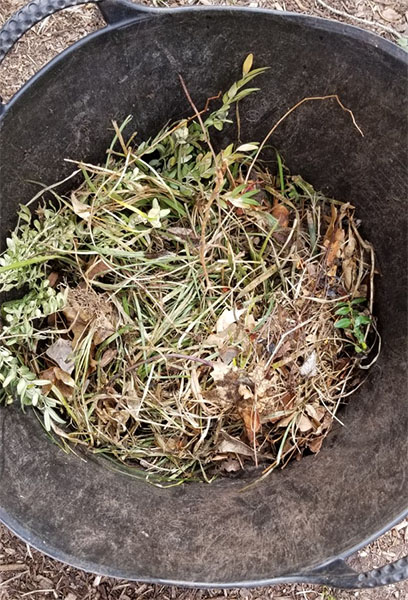
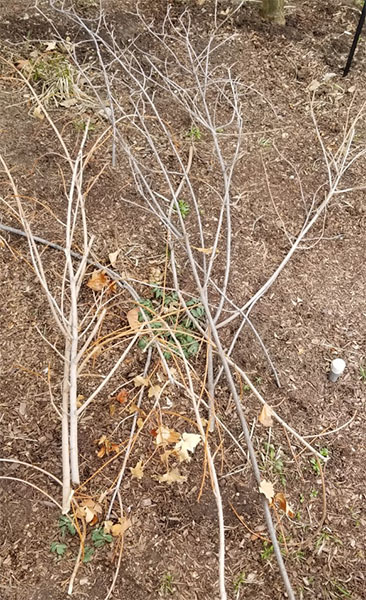
Once your bin is set up it’s time to add organic matter to start the decomposition process. As you conduct your seasonal garden maintenance, collect your debris: branches, dried leaves, lawn and leaf clippings. These materials can all be added directly to the compost bin and will break down over time. You can also add kitchen scraps like vegetables, fruits and eggshells (cleaned to remove egg white residue). Avoid adding meat and dairy products and perishable items that will spoil quickly or attract unwanted wildlife. The general rule for a healthy compost pile is to add a 2:1 ratio of brown carbon-rich material (dried and chopped branches/leaves cut or shredded finely) to green nitrogen-rich material (kitchen scraps, fresh lawn and leaf clippings). You can layer these materials to allow for proper air flow and oxygenation within your bin.

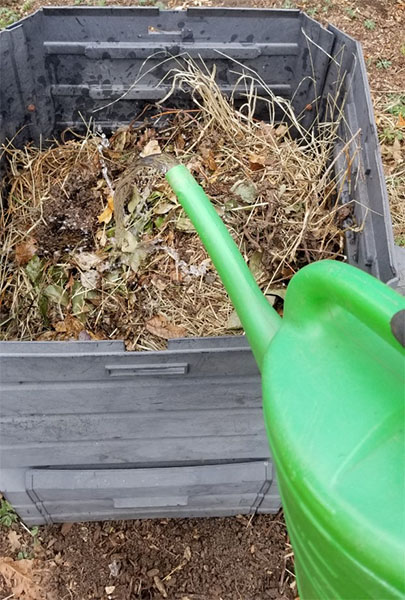
Step 4: Water your compost bin
A compost bin requires moisture to begin and maintain a healthy microbial presence, which in turn allows for the decomposition process to take place. Your new compost bin should be watered at least once a week and monitored to ensure that it is staying moist, especially during the hottest times of the year.
Step 5: Turn your compost once a month
Turning or mixing your compost once a month will also help ensure proper oxygenation of your compost bin and will help speed up the decomposition process.
Step 6: Let nature take its course
Creating a healthy compost bin system that produces high yields of nutritious compost throughout the year takes time to become established. Expect it to take approximately four to six months for your initial compost starter material to begin decomposing and building the natural microbial life needed. Within eight to 12 months you will be able to harvest compost to add back into your garden beds. This is another great reason to start your new compost bin NOW!
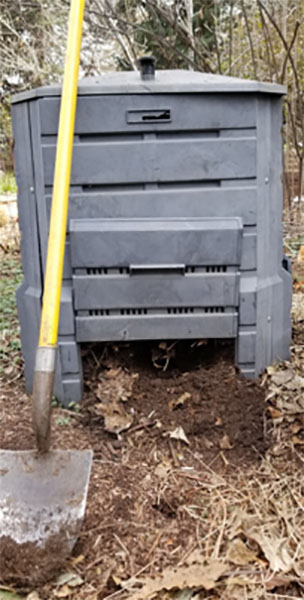
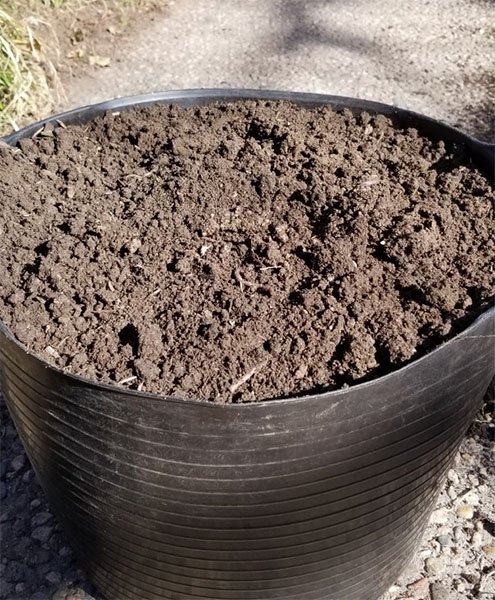
Step 7: Harvest your fresh, homemade compost from your bin
You have made it this far in the backyard composting journey and you should be very proud of your achievement! You have become a more sustainable individual/household, reduced your carbon footprint drastically by not adding as much to the landfill and now have fresh, nutrient-rich and FREE compost to add back into your vegetable and garden beds. When you’re ready to add your new compost into the garden, simply open one of your access points on the bin and rake or shovel out the bottom layer of the compost bin. You will see where the organic matter has decomposed into a dark, rich soil that you can extract and then reapply to your gardens. Once you have removed this material, give your remaining compost bin a quick mix and water well. Let the compost bin do the rest.
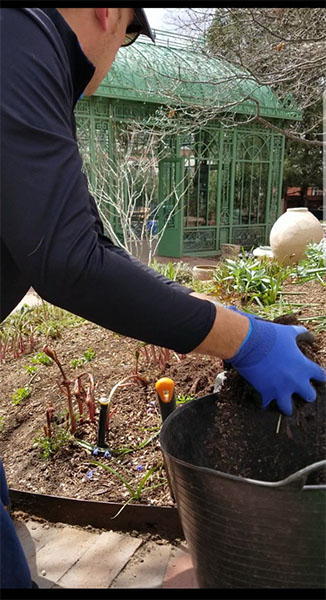
Step 8: Apply your fresh compost to your garden beds
This is truly the most rewarding part of the entire composting experience. As you tend to your vegetables and gardens, apply a layer of compost around the base of each plant and gently till into the top 1-2 inches of existing soil. Add compost into your container gardens and mix in with new plantings around the roots. Within a matter of weeks, you will see how this amendment of the soil will invigorate you plants to grow and produce astoundingly.
Denver Botanic Gardens’ Green Team is thrilled that you are considering taking our composting challenge! We hope that you find it as fun and rewarding as we do, and we would love to hear about your experiences on this incredible composting journey to becoming more sustainable.
Add new comment